Beautiful map images with QGIS
Making nice static map images with QGIS.

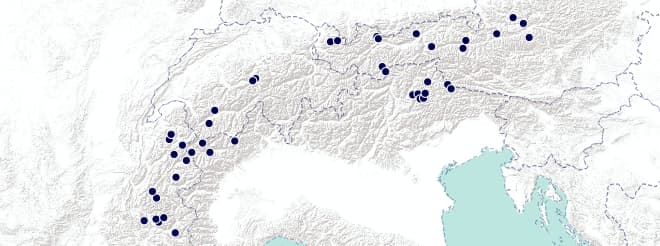
The image above shows the location of the Crévacol ski resort in Italy. This small, 20-kilometer resort with only 2 chairlifts is truly a hidden ski gem. I want to build a webpage showcasing the various resorts I've visited, and I thought it would be nice to include a small visual for each one, so I started looking into creating map images. Let's see how the image above was created.
QGIS
QGIS is a powerful tool for spatial visualization, capable of a wide range of tasks, though I only use a small fraction of its features. Here, we'll focus on building a simple map image.
If you haven't already, start by installing QGIS. On Nix, it's as easy as running nix-shell --packages qgis --run qgis.
Choosing a Basemap
To begin, we'll need a basemap as the background, known as an XYZ Tile Layer in QGIS. Geo How-tos has a wide selection to choose from, some of which may require an API key, as indicated in the top-right info box.
For the image at the top of this post, I chose the “Esri - WorldTerrain” basemap, as it's a good fit for a ski resort, with its terrain-focused design and mostly white and gray colors that allow the marker to stand out.
In QGIS, right-click the “XYZ Tiles” in the “Browser” window and choose “New connection”. Add a name (you can choose this freely). The URL and tile resolution settings can be found in the Geo How-tos info box.
Adding a Marker
Next, we'll add the marker. QGIS is a powerful tool, and you don't simply add a marker; instead, you load markers (or routes) from an external source. While there may be simpler ways, I typically create a GPX file with the marker's position and label, allowing for multiple markers if needed.
<?xml version="1.0" encoding="UTF-8"?>
<gpx xmlns="http://www.topografix.com/GPX/1/1" version="1.1">
  <trk>
    <trkseg>
      <trkpt lat="45.82989" lon="7.15107">
        <name>Crévacol</name>
      </trkpt>
    </trkseg>
  </trk>
</gpx>In QGIS, use the “Browser” section to locate the GPX file (it has a database icon), expand it, and double-click its “track_points” to add a new layer with the marker to the map. Alternatively, you can drag and drop the GPX file into the “Layers” section.
If you don't immediately see the marker, right-click the “track_point” layer and choose “Zoom to layer(s)” to center the map on the marker.
Right-click the new layer and choose “Properties…” to customize the marker's style, such as color, image, text size, and font.
Export as Image

To print the image, choose “Project → New print layout…” and give it a name. In the new window, right-click the blank rectangle and choose “Page Properties…”, where you can set the desired dimensions for the image. The “pt” setting seems to match what I would call pixels, though the “px” unit doesn't seem to work as I expected.
Click the "Add Map" icon in the left sidebar and drag a rectangle where you want your map to appear. You can now fine-tune the map position and zoom level with the "Move item content" icon in the same sidebar.
Finally, to export the image, choose "Layout → Export as Image…".